
From the humble kitchens of medieval serfs to the bustling streets of modern farmers’ markets, peasant bread has stood the test of time as a staple of sustenance and simplicity. This rustic loaf, with its hearty crust and tender crumb, is a testament to the ingenuity of those who had little but made the most of it. The experience of eating my mother’s easy peasant bread recipe is akin to taking a step back in time, savoring the flavors that have nourished generations.
What is Peasant Bread?
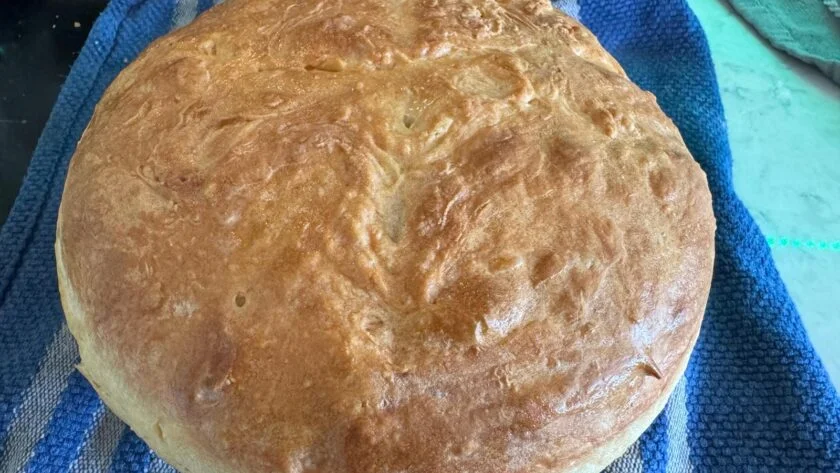
Peasant bread is a timeless classic in the world of artisanal baking, cherished for its simplicity and heartwarming qualities. This no-knead bread boasts a thick, crispy crust enveloping a soft, airy interior, making it a versatile staple in any kitchen. Originating from the age-old traditions of European peasants, this bread is crafted from basic ingredients like flour, water, yeast, and salt, embodying the essence of rustic comfort food.
How to Make My Mother’s Easy Peasant Bread Recipe
Step 1 – Prepare the Dough: In your large mixing bowl, whisk together the sifted flour, salt, and sugar. Activate the yeast by dissolving it in two cups of warm water in a measuring cup. Pour the yeast mixture into the dry ingredients and use your spatula or wooden spoon to combine them until a rough, sticky ball forms, ensuring no dry streaks remain.
Step 2 – First Rise: Cover the bowl with a kitchen towel or plastic wrap and let the dough rise in a warm place for 1 to 1 ½ hours, until it doubles in size.
Step 3 – Preheat and Prep: Position the oven rack in the middle and preheat your oven to 425℉ (220℃). Generously grease your 9″ round oven-safe bowl with butter or oil to prevent sticking.
Step 4 – Shape and Second Rise: Using the rubber spatula, gently scrape the dough away from the sides of the bowl. With greased hands, form the dough into a rough ball, tucking under the edges to create a smooth top. Place the dough in the prepared greased baking bowl, maintaining its rustic appearance. Cover and let the dough rest for another 20-30 minutes to rise slightly.
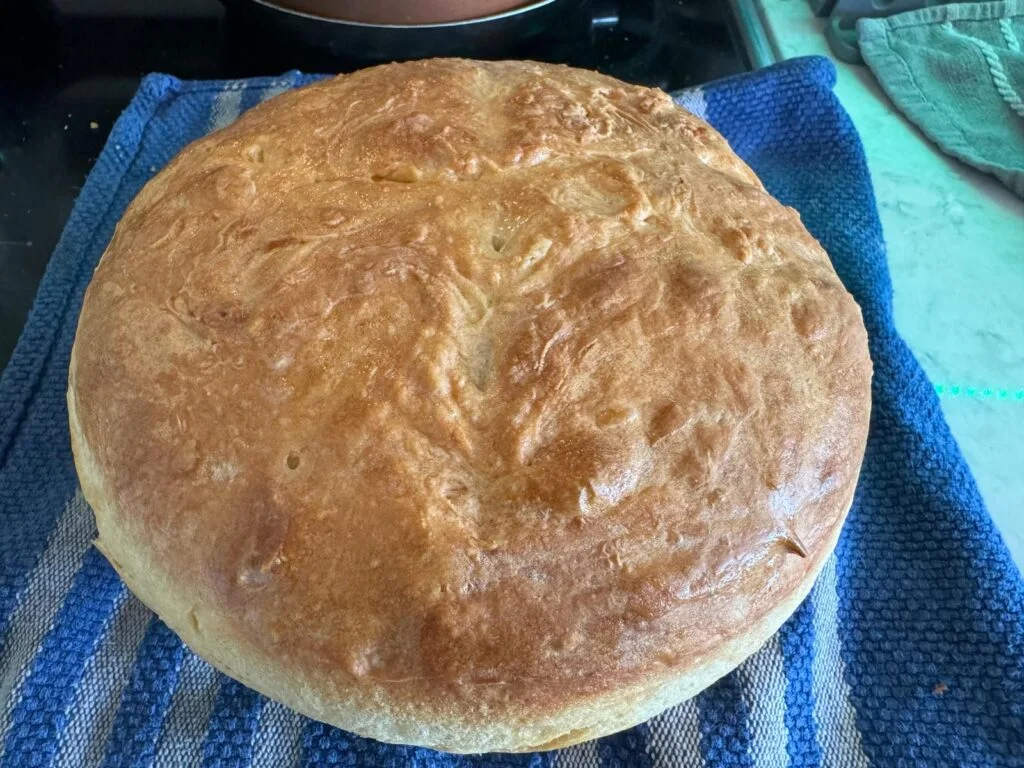
Step 5 – Bake the Bread: Bake the bread for 20 minutes at 425℉ (220℃). Then, reduce the temperature to 375℉ (190℃) and continue to bake for an additional 20 minutes until the bread is golden brown and sounds hollow when tapped.
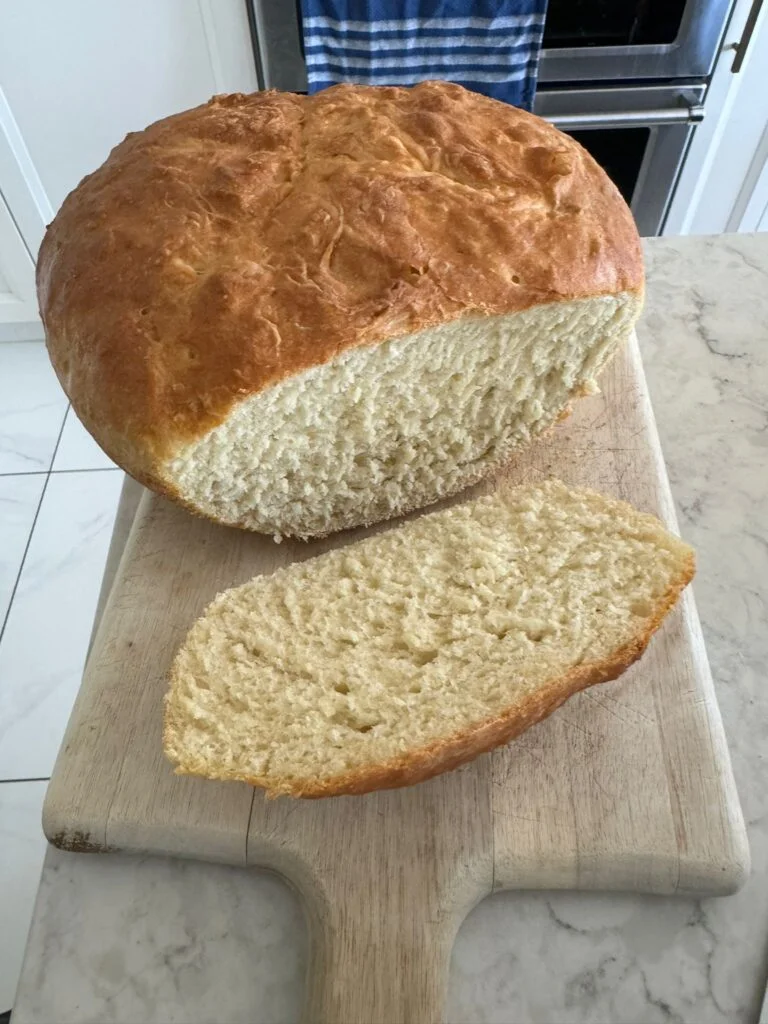
Step 6 – Cool and Serve: Remove the bread from the oven using oven mitts and let it cool in the bowl for 15 minutes. Transfer the bread to a wire rack to cool completely before slicing.
What Pairs Well with Peasant Bread?
When it comes to pairing, peasant bread’s robust texture and neutral flavor profile make it an excellent canvas for a variety of accompaniments. It pairs exceptionally well with a range of cheeses, from the creamy richness of Brie to the sharp bite of aged Cheddar. The bread’s sturdy crust makes it ideal for dipping into velvety soups or hearty stews, absorbing the flavors while maintaining its integrity.
For those with a sweet tooth, peasant bread can be transformed into a delightful treat when topped with jams, honey, or Nutella. Its dense crumb also serves as the perfect base for bruschetta, adorned with ripe tomatoes, basil, and a drizzle of olive oil. Moreover, peasant bread can be cubed and toasted to create crunchy croutons that add a satisfying texture to salads and soups.
Serving Suggestions:
Peasant bread is best enjoyed fresh from the oven, slathered with butter or as an accompaniment to a hearty stew. Its robust texture also makes it ideal for toasting or as the base for bruschetta.
Enjoy the warmth and comfort of this timeless classic, and let the rich history of peasant bread enrich your culinary experience.
You can also use my mother’s peasant bread in other recipes! Try it in our Golden Corral Bread Pudding Recipe.
My Mother’s Easy Peasant Bread
Equipment
- 1 Large mixing bowl
- Measuring Cups and Spoons
- 1 Spatula or wooden spoon
- 1 9" round bowl oven-safe
- Oven mitts
- Rubber spatula
- Kitchen towel or plastic wrap for covering
Ingredients
- 4 cups all-purpose flour
- 1 ½ tsps salt
- 2 tsps sugar
- 1 pkg yeast or 2 tbps
- 2 cups warm water
Instructions
- Prepare the Dough: In your large mixing bowl, whisk together the sifted flour, salt, and sugar. Activate the yeast by dissolving it in two cups of warm water in a measuring cup. Pour the yeast mixture into the dry ingredients and use your spatula or wooden spoon to combine them until a rough, sticky ball forms, ensuring no dry streaks remain.
- First Rise: Cover the bowl with a kitchen towel or plastic wrap and let the dough rise in a warm place for 1 to 1 ½ hours, until it doubles in size.
- Preheat and Prep: Position the oven rack in the middle and preheat your oven to 425℉ (220℃). Generously grease your 9" round oven-safe bowl with butter or oil to prevent sticking.
- Shape and Second Rise: Using the rubber spatula, gently scrape the dough away from the sides of the bowl. With greased hands, form the dough into a rough ball, tucking under the edges to create a smooth top. Place the dough in the prepared greased baking bowl, maintaining its rustic appearance. Cover and let the dough rest for another 20-30 minutes to rise slightly.
- Bake the Bread: Bake the bread for 20 minutes at 425℉ (220℃). Then, reduce the temperature to 375℉ (190℃) and continue to bake for an additional 20 minutes until the bread is golden brown and sounds hollow when tapped.
- Cool and Serve: Remove the bread from the oven using oven mitts and let it cool in the bowl for 15 minutes. Transfer the bread to a wire rack to cool completely before slicing.